Manual Wire Stripping Machine Guide for Clean Copper
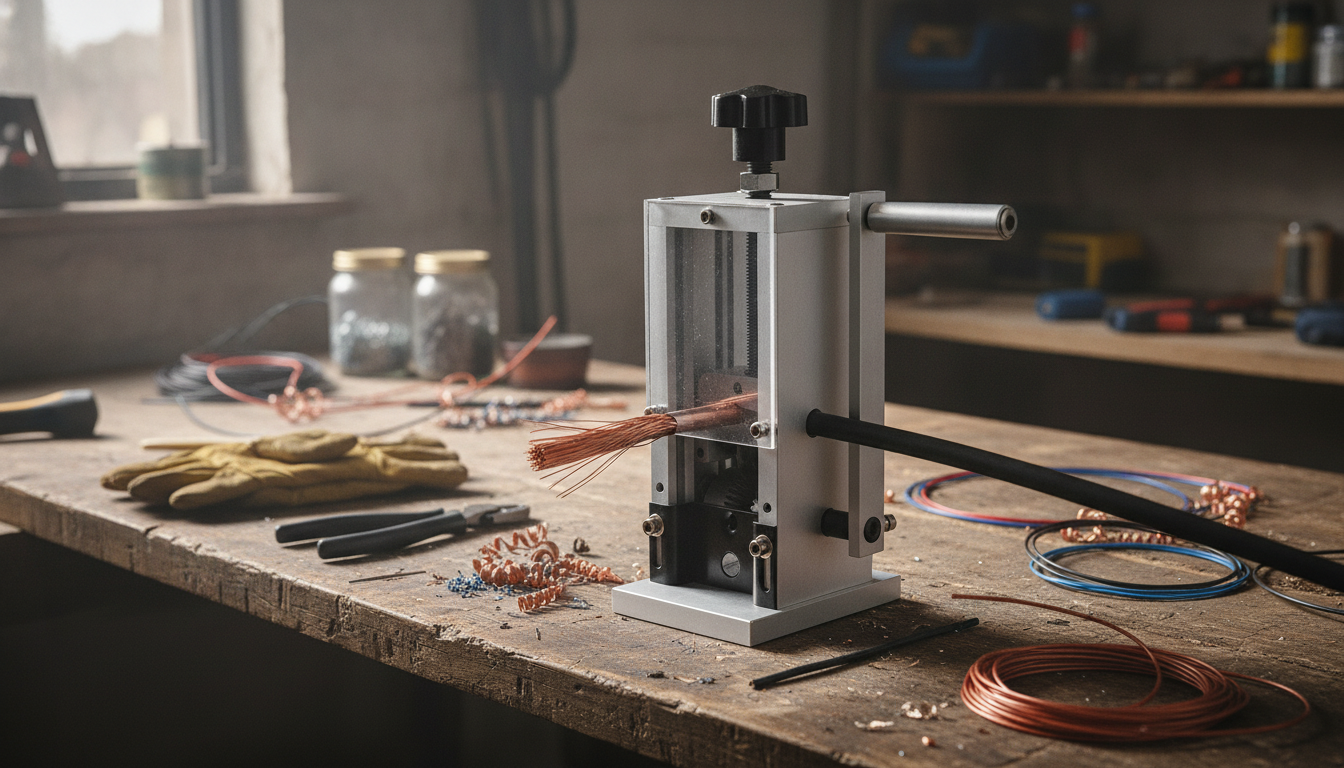
Manual Wire Stripping Machine: Cleaner Copper, Less Waste, Faster Prep
A manual wire stripping machine removes insulation from scrap and electrical wire with controlled, repeatable cuts—helping recover clean copper or aluminum while reducing nicks, waste, and hand fatigue compared with knives or pliers. With a steady hand-crank feed and an adjustable blade, you can dial in a setting that scores the jacket without biting into the conductor. The result is faster prep for recycling, repairs, or shop projects—and more consistent outcomes from one piece of wire to the next.
What a Manual Wire Stripping Machine Does
At its core, a manual wire stripping machine separates the insulation from the conductor by pulling wire through an adjustable blade-and-roller channel. Instead of relying on squeezing pressure (as with pliers) or freehand cuts (as with a knife), you use a guided path that keeps the cut more uniform.
- Produces cleaner, more consistent stripped copper or aluminum for recycling or reuse.
- Helps reduce accidental gouges and strand damage on tougher jackets.
- Works especially well for repeated runs of similar wire sizes where you can keep settings consistent.
- Common use cases include scrap recovery, small electrical jobs, hobby fabrication, and general shop cleanup.
How the Mechanism Works (In Plain Terms)
The mechanism is simple, but small adjustments matter. Wire enters a feed path where a roller (or guide rollers) supports the wire and keeps it tracking straight while a cutting blade is set to a fixed depth. A knob or screw changes blade height so it scores insulation without cutting into copper strands.
- Feed path: Wire goes between a drive/guide roller and the blade.
- Adjustment: Blade height changes in small increments to match wire diameter and jacket hardness.
- Manual drive: A hand crank pulls wire through at a controlled pace.
- After the pass: The jacket splits so it can be peeled off (some jackets separate fully, depending on material and thickness).
- What affects performance most: blade sharpness, correct blade depth, and a stable feed angle.
Key Features That Affect Results
Two machines can look similar but behave very differently once you start running real cable through them. These traits tend to have the biggest impact on cut quality and repeatability:
- Blade adjustability: Fine control helps when switching between different diameters or tougher insulation.
- Roller grip: Better traction reduces slipping on smooth jackets and helps keep the score straight.
- Frame rigidity: A stable body minimizes wobble, reducing uneven cuts on larger-gauge wire.
- Ease of calibration: Clear guides and straightforward tension controls shorten changeover time.
- Mounting options: Bench mounting improves consistency, especially for long pulls or stiff cable.
Manual vs. Other Stripping Options
Choosing a stripping method usually comes down to volume, comfort, and how consistent you need the conductor to be after stripping. Manual machines often land in a sweet spot: faster than hand tools for batches, but simpler than fully powered equipment.
| Option | Best for | Pros | Watch-outs |
|---|---|---|---|
| Manual wire stripping machine | Batch stripping scrap wire with consistent settings | Repeatable cuts; low operating cost; controlled feed | Requires setup time and blade depth tuning |
| Handheld stripper/pliers | Quick single runs and small jobs | Portable; no mounting needed | More fatigue; higher risk of nicking strands on tough jackets |
| Utility knife method | Occasional large-diameter jacket splitting | Cheap and available | Higher injury risk; inconsistent depth; easier to damage conductor |
| Powered/automatic stripper | Higher volume or frequent daily use | Fast throughput; less manual effort | Higher cost; more parts; can misfeed if not set correctly |
Setup and Calibration for Clean Copper
Clean copper starts with a stable machine and a cautious first adjustment. A few minutes of calibration can prevent hours of rework—especially if you’re processing a pile of similar wire.
- Secure the machine: Clamp or bolt it to a solid bench so it won’t shift during pulls.
- Start with a test piece: Use a short scrap section of the same wire type and diameter.
- Set blade depth gradually: Tighten until the jacket scores, then back off slightly if you see conductor marks.
- Keep the feed straight: Align the wire with the channel to avoid angled cuts that bite into strands.
- Use steady cranking: Consistent speed helps maintain uniform scoring and reduces slipping.
- For multi-strand wire: Aim for a shallow score that splits insulation without fraying or cutting strands.
Safety and Good Habits
For recognized electrical safety practices, refer to OSHA’s Control of Hazardous Energy (Lockout/Tagout) standard (29 CFR 1910.147) and NFPA 70E (Electrical Safety in the Workplace).
Maintenance and Troubleshooting
If your goal is scrap value, clean separation matters: copper’s material advantages and common uses are summarized by the U.S. Department of Energy’s copper overview.
A Practical Option to Add to the Workbench
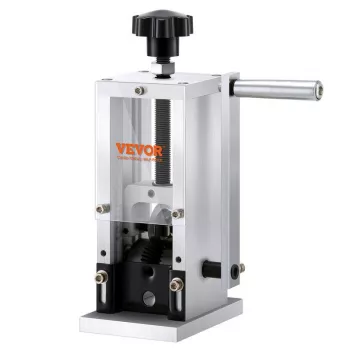
- Manual Wire Stripping Machine — a straightforward, crank-driven option for controlled, repeatable stripping.
- Wireless Bluetooth Backlit Number Pad for Apple Devices — handy for quickly logging weights, footage, or payout calculations at the bench.
- Mini Pocket DAB/DAB+ FM Radio MP3 Player with Speaker & Rechargeable Battery — a compact workshop companion for longer sorting and stripping sessions.
FAQ
Will a manual wire stripping machine damage copper strands?
It can if the blade is set too deep. Make a short test cut, adjust in small increments, and inspect the conductor for scoring; the goal is to score only the insulation so it splits cleanly.
What wire types work best with a manual stripping machine?
Most common insulated copper or aluminum wire used in household and workshop settings strips well once the blade depth is matched to the jacket. Very soft or very thin insulation may require lighter tension and a shallower blade setting to avoid cutting into the conductor.
How long does it take to set up for a new wire size?
Usually a few minutes. Mount the machine securely, run a short test piece, then fine-tune blade depth and feed alignment until the jacket splits without conductor marks.













Leave a comment